Trying to get your new printer up and running? Here are the basic steps you'll follow to set up almost any printer.
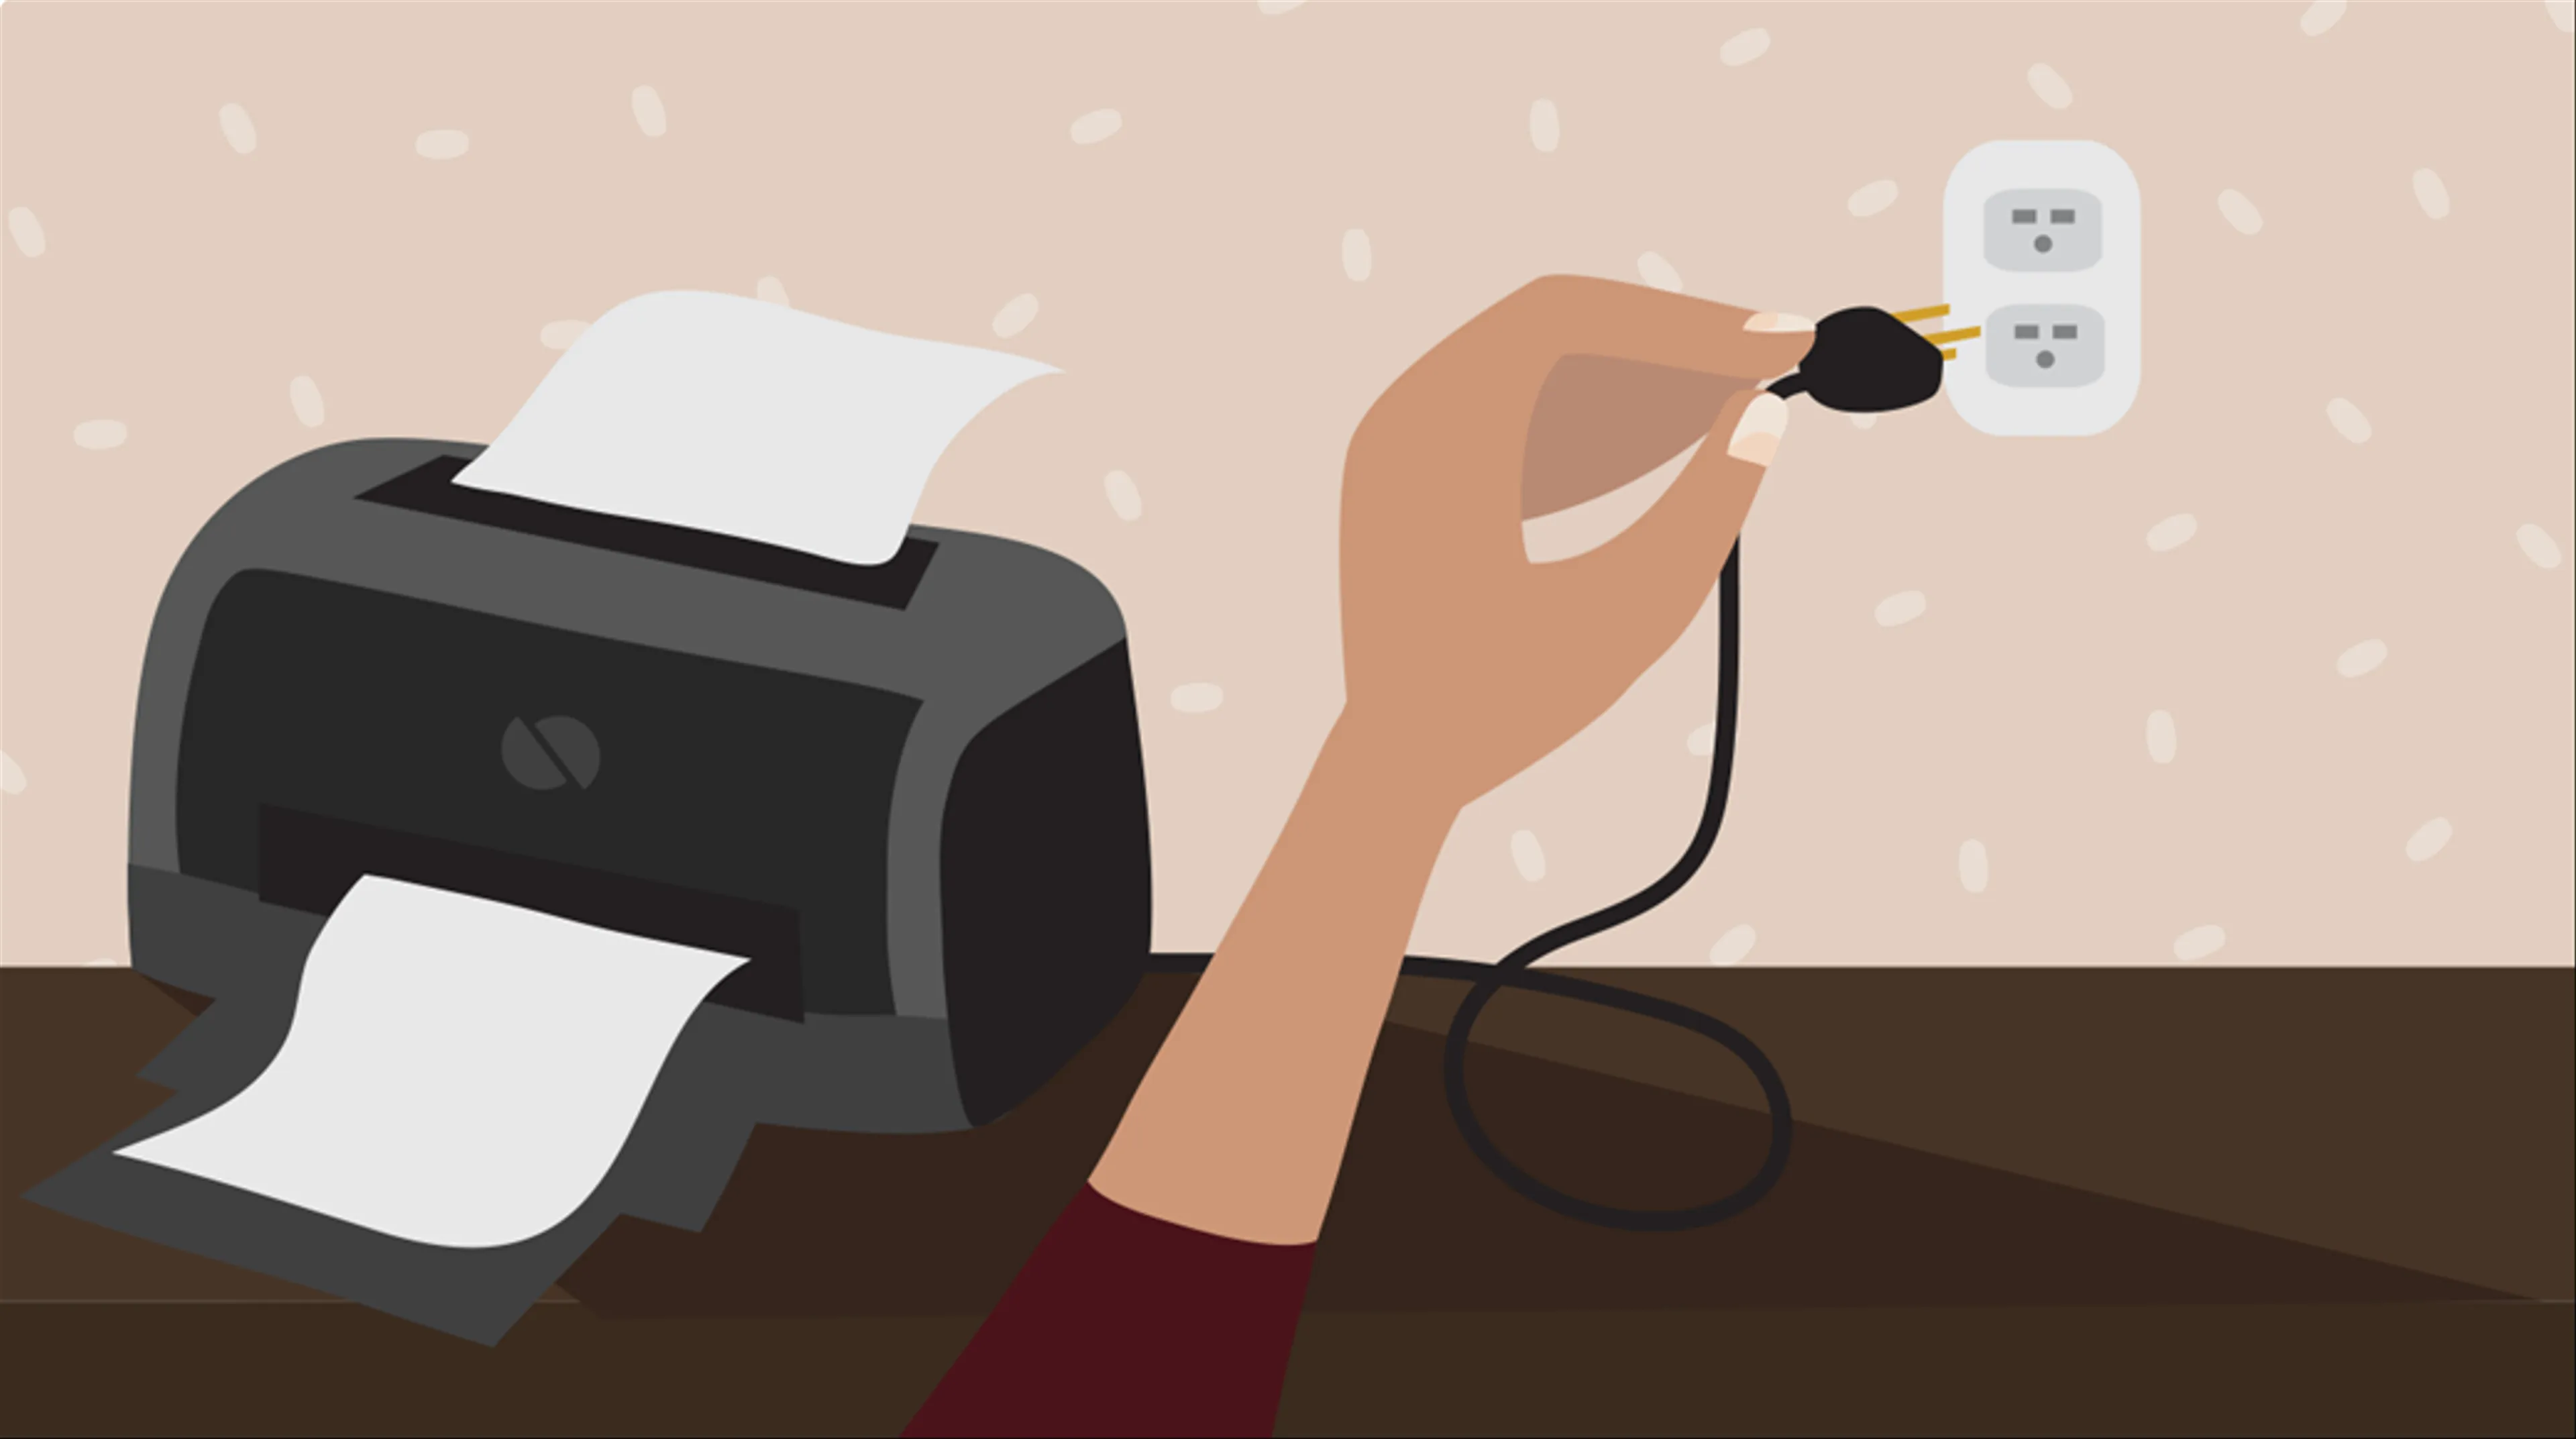
Plug in the printer's power cable and make sure it's turned on.
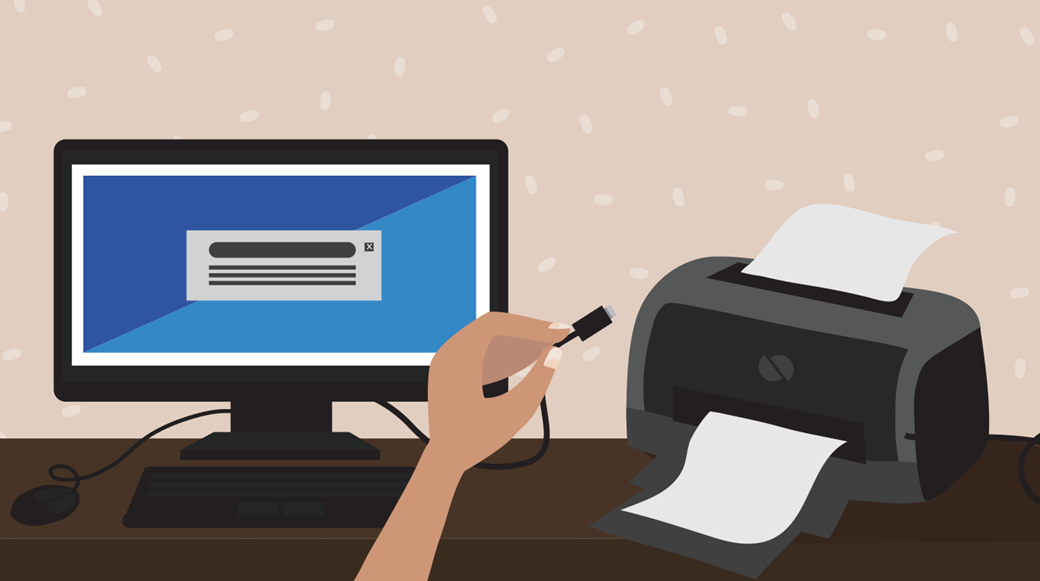
Connect the included cable (usually a USB cable) from the printer to the computer. Note: The process will be different if you're using a wireless printer; we'll talk more about that later on.
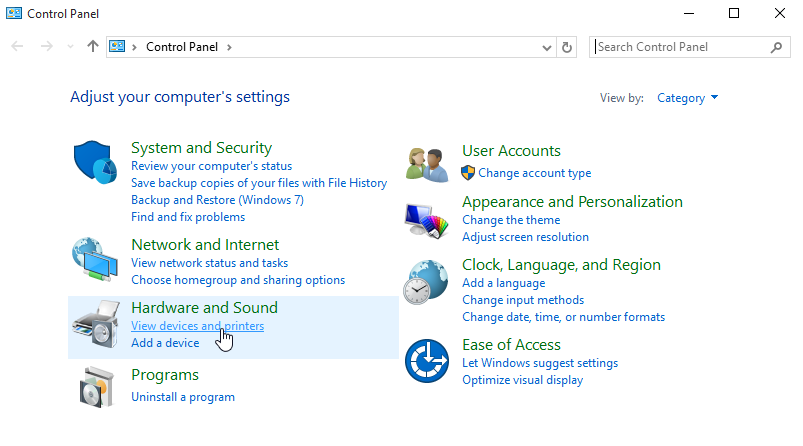
On your computer, locate the Printer settings. If you're using a Windows computer, you'll find these in the Control Panel. If you're using a Mac, you'll find them in System Preferences.
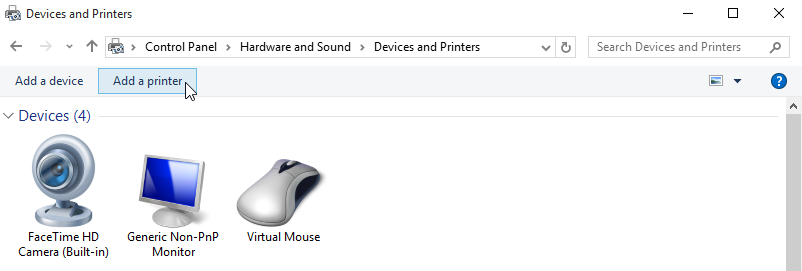
Look for the option to Add a printer, then follow the instructions that appear.
Now it's time to try printing something! For example, you could try printing this test page. After you click the link, select File > Print from your web browser's menu, or simply press Ctrl+P on your keyboard (or Command+P if you're on a Mac).
A dialog box will appear. Locate and select the new printer from the list, then click Print.
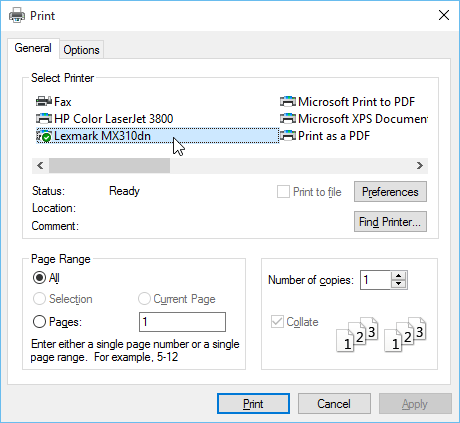
The item will then be printed. But if it doesn't work, don't panic! You can try using some of the solutions to common problems below.
Solutions to common problems
- Problem: Nothing happens when you try to print. There are several reasons a printer might not work, even if everything's connected properly. First, you'll want to make sure you've put paper into the correct tray and there's no paper stuck inside the printer.
- Problem: The printer has paper and nothing's stuck, but it still won't print. If the solutions above don't work, try canceling the print job from the computer and trying again. Many printers also have a button you can use to restart the current job. If all else fails, try turning the printer off and on again to see if it fixes the problem.
- Problem: The printer works, but the text is very light and difficult to read. If this happens, it probably means your printer requires a new ink cartridge to keep working. The instruction manual included with the printer should note what type of cartridge you'll need to buy.
Advanced troubleshooting
If you're still having trouble, you can try to find help for your specific printer. We've collected a list of support pages for some of the most common printer brands below:
- Brother
- Canon
- Epson
Another idea would be to run a Google search describing your problem, including the brand and model number. In the example below, we're searching for canon MX920 not responding.

What about wireless printers?
The convenience of wireless printers has made them increasingly popular in recent years. Without the need to physically connect a printer to your computer, wireless printers make it easy to print from laptops, tablets, and even smartphones.
Wireless printers can also be a little more difficult to set up than traditional USB printers, so we recommend carefully working through the instructions that came with your printer. If you're still having trouble, try using the tips above to find a solution that's specific to your printer.
